
DIY Impact Massager for under $60
Build a DIY percussion massager like the TimTam or Theragun for under $60 using a Black & Decker compact saw, a golf ball, and epoxy. Step-by-step build instructions with photos.
Mario Guerra
Author
Impact massagers like the TimTam and Theragun are all the rage these days, but the price they ask for what is essentially a compact saw with a massage tip borders on being criminal.
Quick Answer: You can build a DIY percussion massager for $55.48 using a Black & Decker compact reciprocating saw ($45), a golf ball, and Gorilla Epoxy. File down the saw blade teeth, drill a hole in the golf ball, epoxy the blade into the ball, and wait 24 hours to cure. It works surprisingly well on forearms, shoulders, quads, and hamstrings — and is no louder than commercial alternatives.
Peter Keller over at Fringesport recently published a blog post detailing the materials needed and steps for building one, so I decided to build one of my own and document the process.
Incidentally, if you're not subscribed to the Fringesport mailing list, I recommend joining. Fringesport runs a new sale every week and has frequent lightning deals that only get advertised through the newsletter, so it's definitely worth it.
You can find the subscription form at the bottom of their homepage.
Disclaimer
Let's get this out of the way up front. This DIY project involves repurposing a reciprocating saw.By repurposing a saw as an impact massager, I'm using it in a way it was never designed to be used, so I present this article for entertainment purposes only.
Now that I've got that out of the way, let's get to it!
Demo
Before we get to the nitty gritty on how to build one, watch this short clip to see it in action:It's fairly loud but it works surprisingly well. My forearms hold a lot of tension and this little gadget really helps loosen them up. I've used it on my shoulders, quads, feet, glutes, and hamstrings with equally good results.
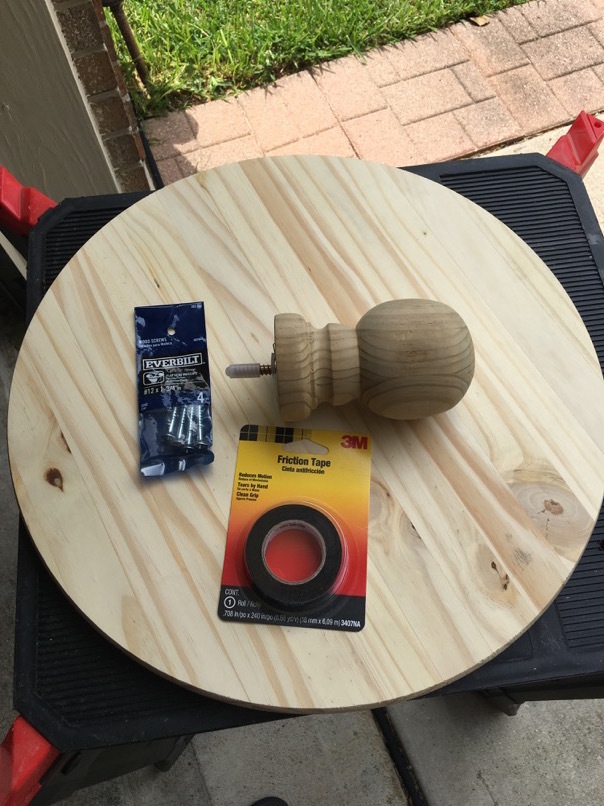
Materials & tools
I used the following items to make my impact massager: I don't play golf so I had to buy some balls. I bought the cheapest pack I could find, but if you already have a golf ball handy you can save a few bucks.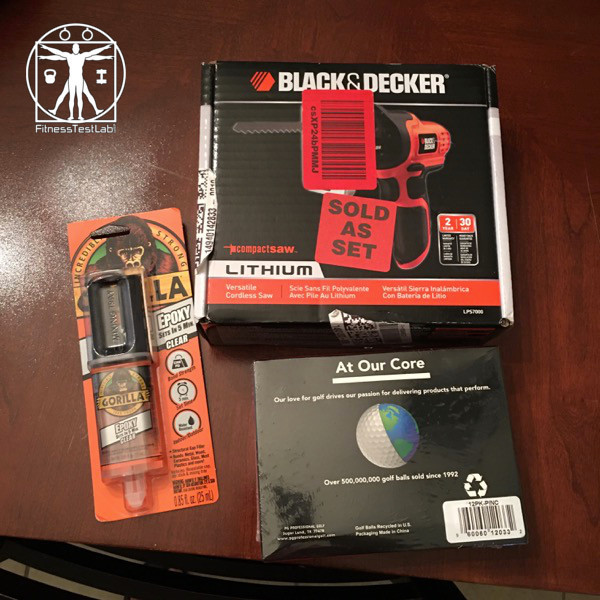
In addition to the raw materials, I also used the following tools:
- Compact drill
- 11/64" drill bit
- Metal file
- Adjustable work bench (optional, but very handy)
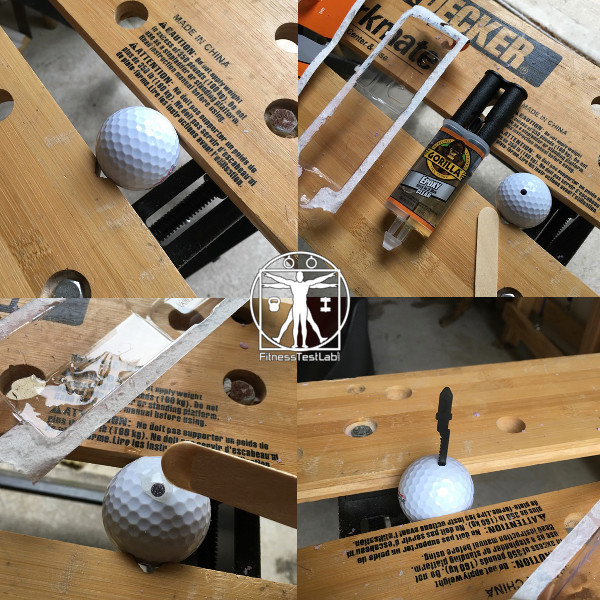
Step 1: The reduction
The B&D Compact Saw comes with one blade, and one blade is all I need.The blade is sturdy and I don't expect to have any problems with it, but I believe in being safe rather than sorry. Although not strictly necessary, I filed down the sharp edges of the blade in order to reduce any chance of injury.
I secured my metal file to my workbench and ran the saw over the blade, letting the saw do the filing work for me.

The picture below was taken about halfway through the filing process.
The edges of the saw blade have been blunted by the file, but I kept going a little more beyond what's shown in the picture.

Step 2: The lobotomy
Next up for modification is the golf ball. I secured it in the workbench and drilled a hole halfway through it using the 11/64" bit.After drilling the hole and blowing any stray golf ball brains out of it, I mixed the Gorilla Epoxy and applied as much as I could to the freshly drilled orifice.
Epoxy begins to cure quickly, so it's important to insert the blade end into the hole with the epoxy as soon as possible.
Although I don't show it in the pictures, I left the ball secured in the workbench and inserted the blade into the ball while the blade was mounted in the saw. This way I was able to use the handle and weight of the saw as leverage to get the blade as far into the ball as possible.

Step 3: The waiting (is the hardest part)
Step three basically involves waiting for the epoxy to dry. BO-RING!But necessary. The epoxy needs to cure entirely before I even attempt to use this thing as a massager.
I kept the ball propped upright in the workbench and left it alone for 24 hours. While I waited, I left the saw plugged in via the included power cord to fully charge the battery.
After a day passed I took the ball, inserted the blade into the drill base and BOOM! The massager is ready for action.
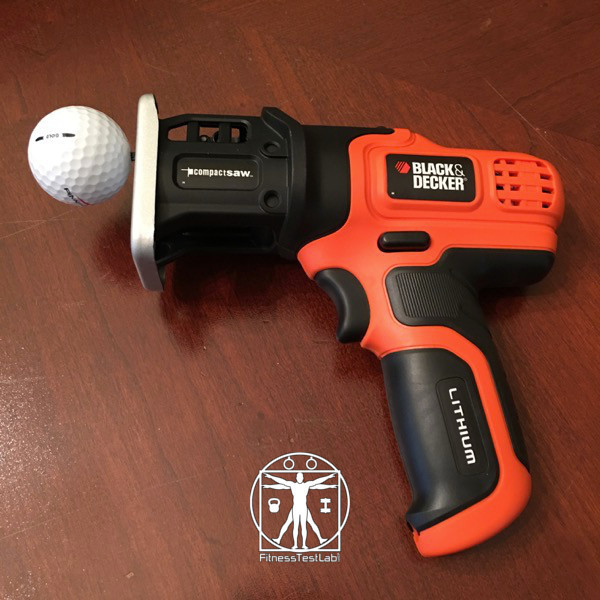
That's it!
Wrap up
With the right tools, this was an incredibly easy project to tackle. The price was right too, I was able to source all the materials I needed for a grand total of $55 and change from Amazon.The massager itself works great, as I've previously mentioned I use it frequently on my forearms but I also like using it on my shoulders, quads, and any other body part that gets tight.
It's a saw so it's going to be loud, but from what I've seen it's actually no louder than a TimTam or Theragun. This doesn't really surprise me, since the guts of those products are basically the same as the guts of this Black & Decker saw.
In any case, it was well worth the time, cost, and effort it took to build.
Got any questions I didn't cover? Sound off in the comments!
Tags:
Related Articles
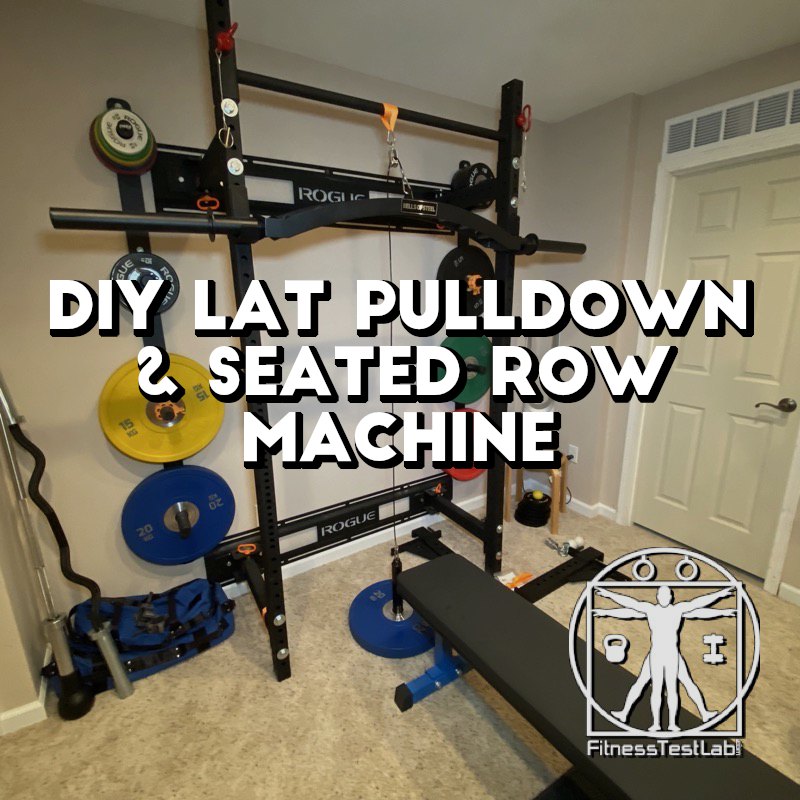
DIY Lat Pulldown and Seated Row Machine
How to build a DIY lat pulldown and seated row machine using your power rack and parts from Amazon. Includes materials list, cable length measurements, and setup instructions for a Spud Inc-style pulley system.
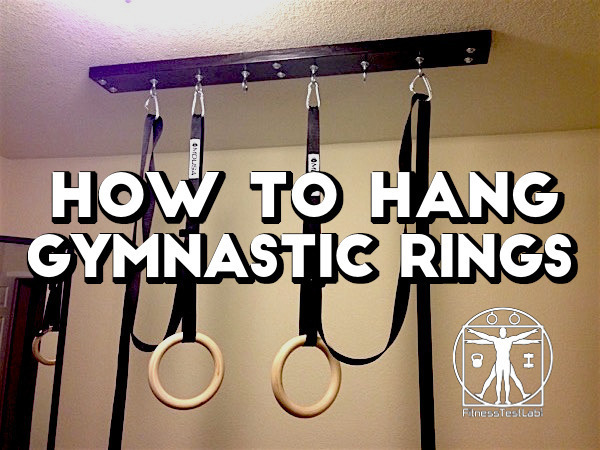
How to Hang Gymnastic Rings
Step-by-step guide to mounting gymnastic rings from your ceiling using lag screws and eye bolts. Includes hardware list, safety tips for ceiling joist mounting, and the finished setup I use for pull-ups, dips, and suspension training at home.
DIY Wobble Board for Faster Ankle Sprain Rehabilitation
Learn how to build a DIY wobble board for under $14 and use it to rehabilitate a sprained ankle faster. Includes parts list, step-by-step assembly instructions, and the balance exercises I used to recover from my ankle sprain.